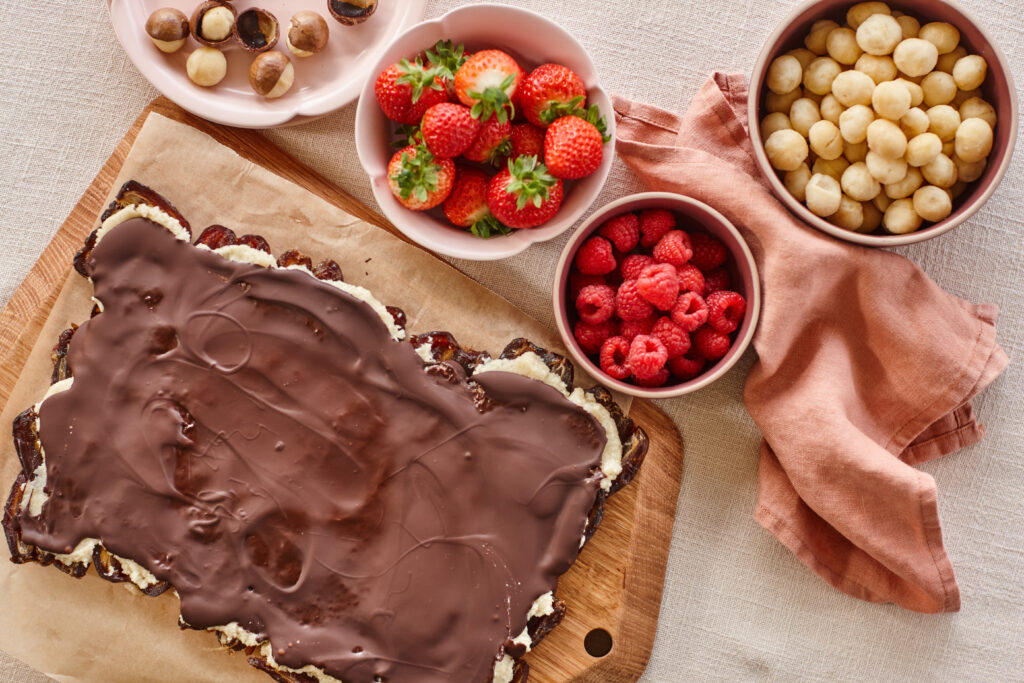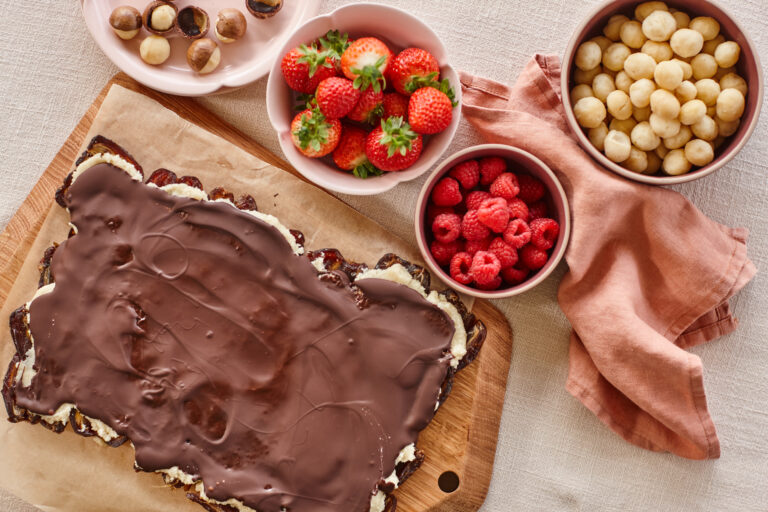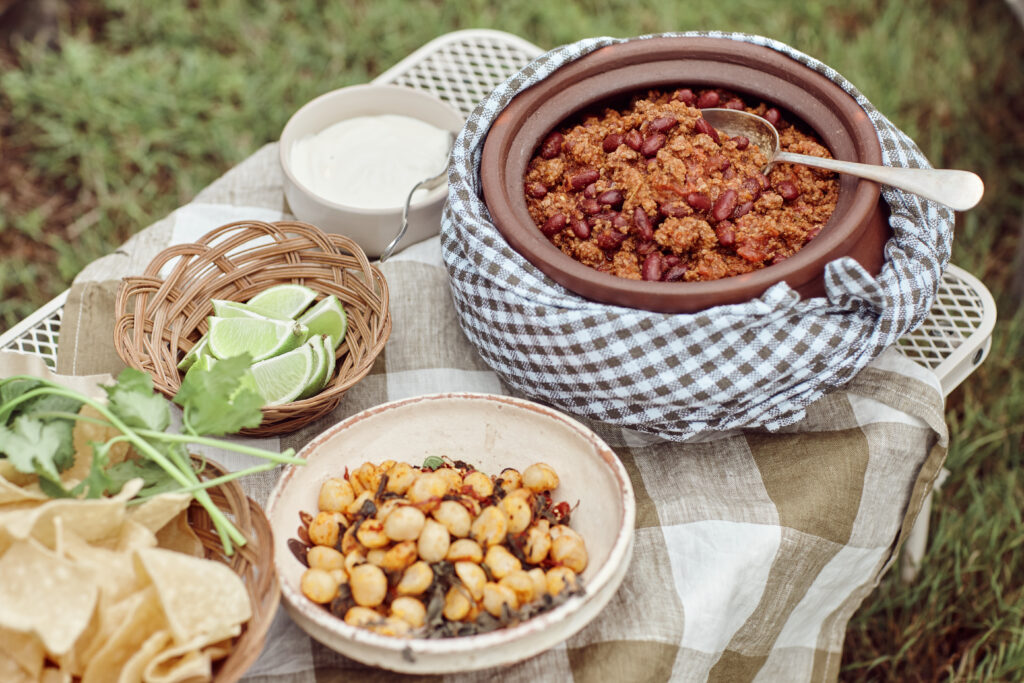
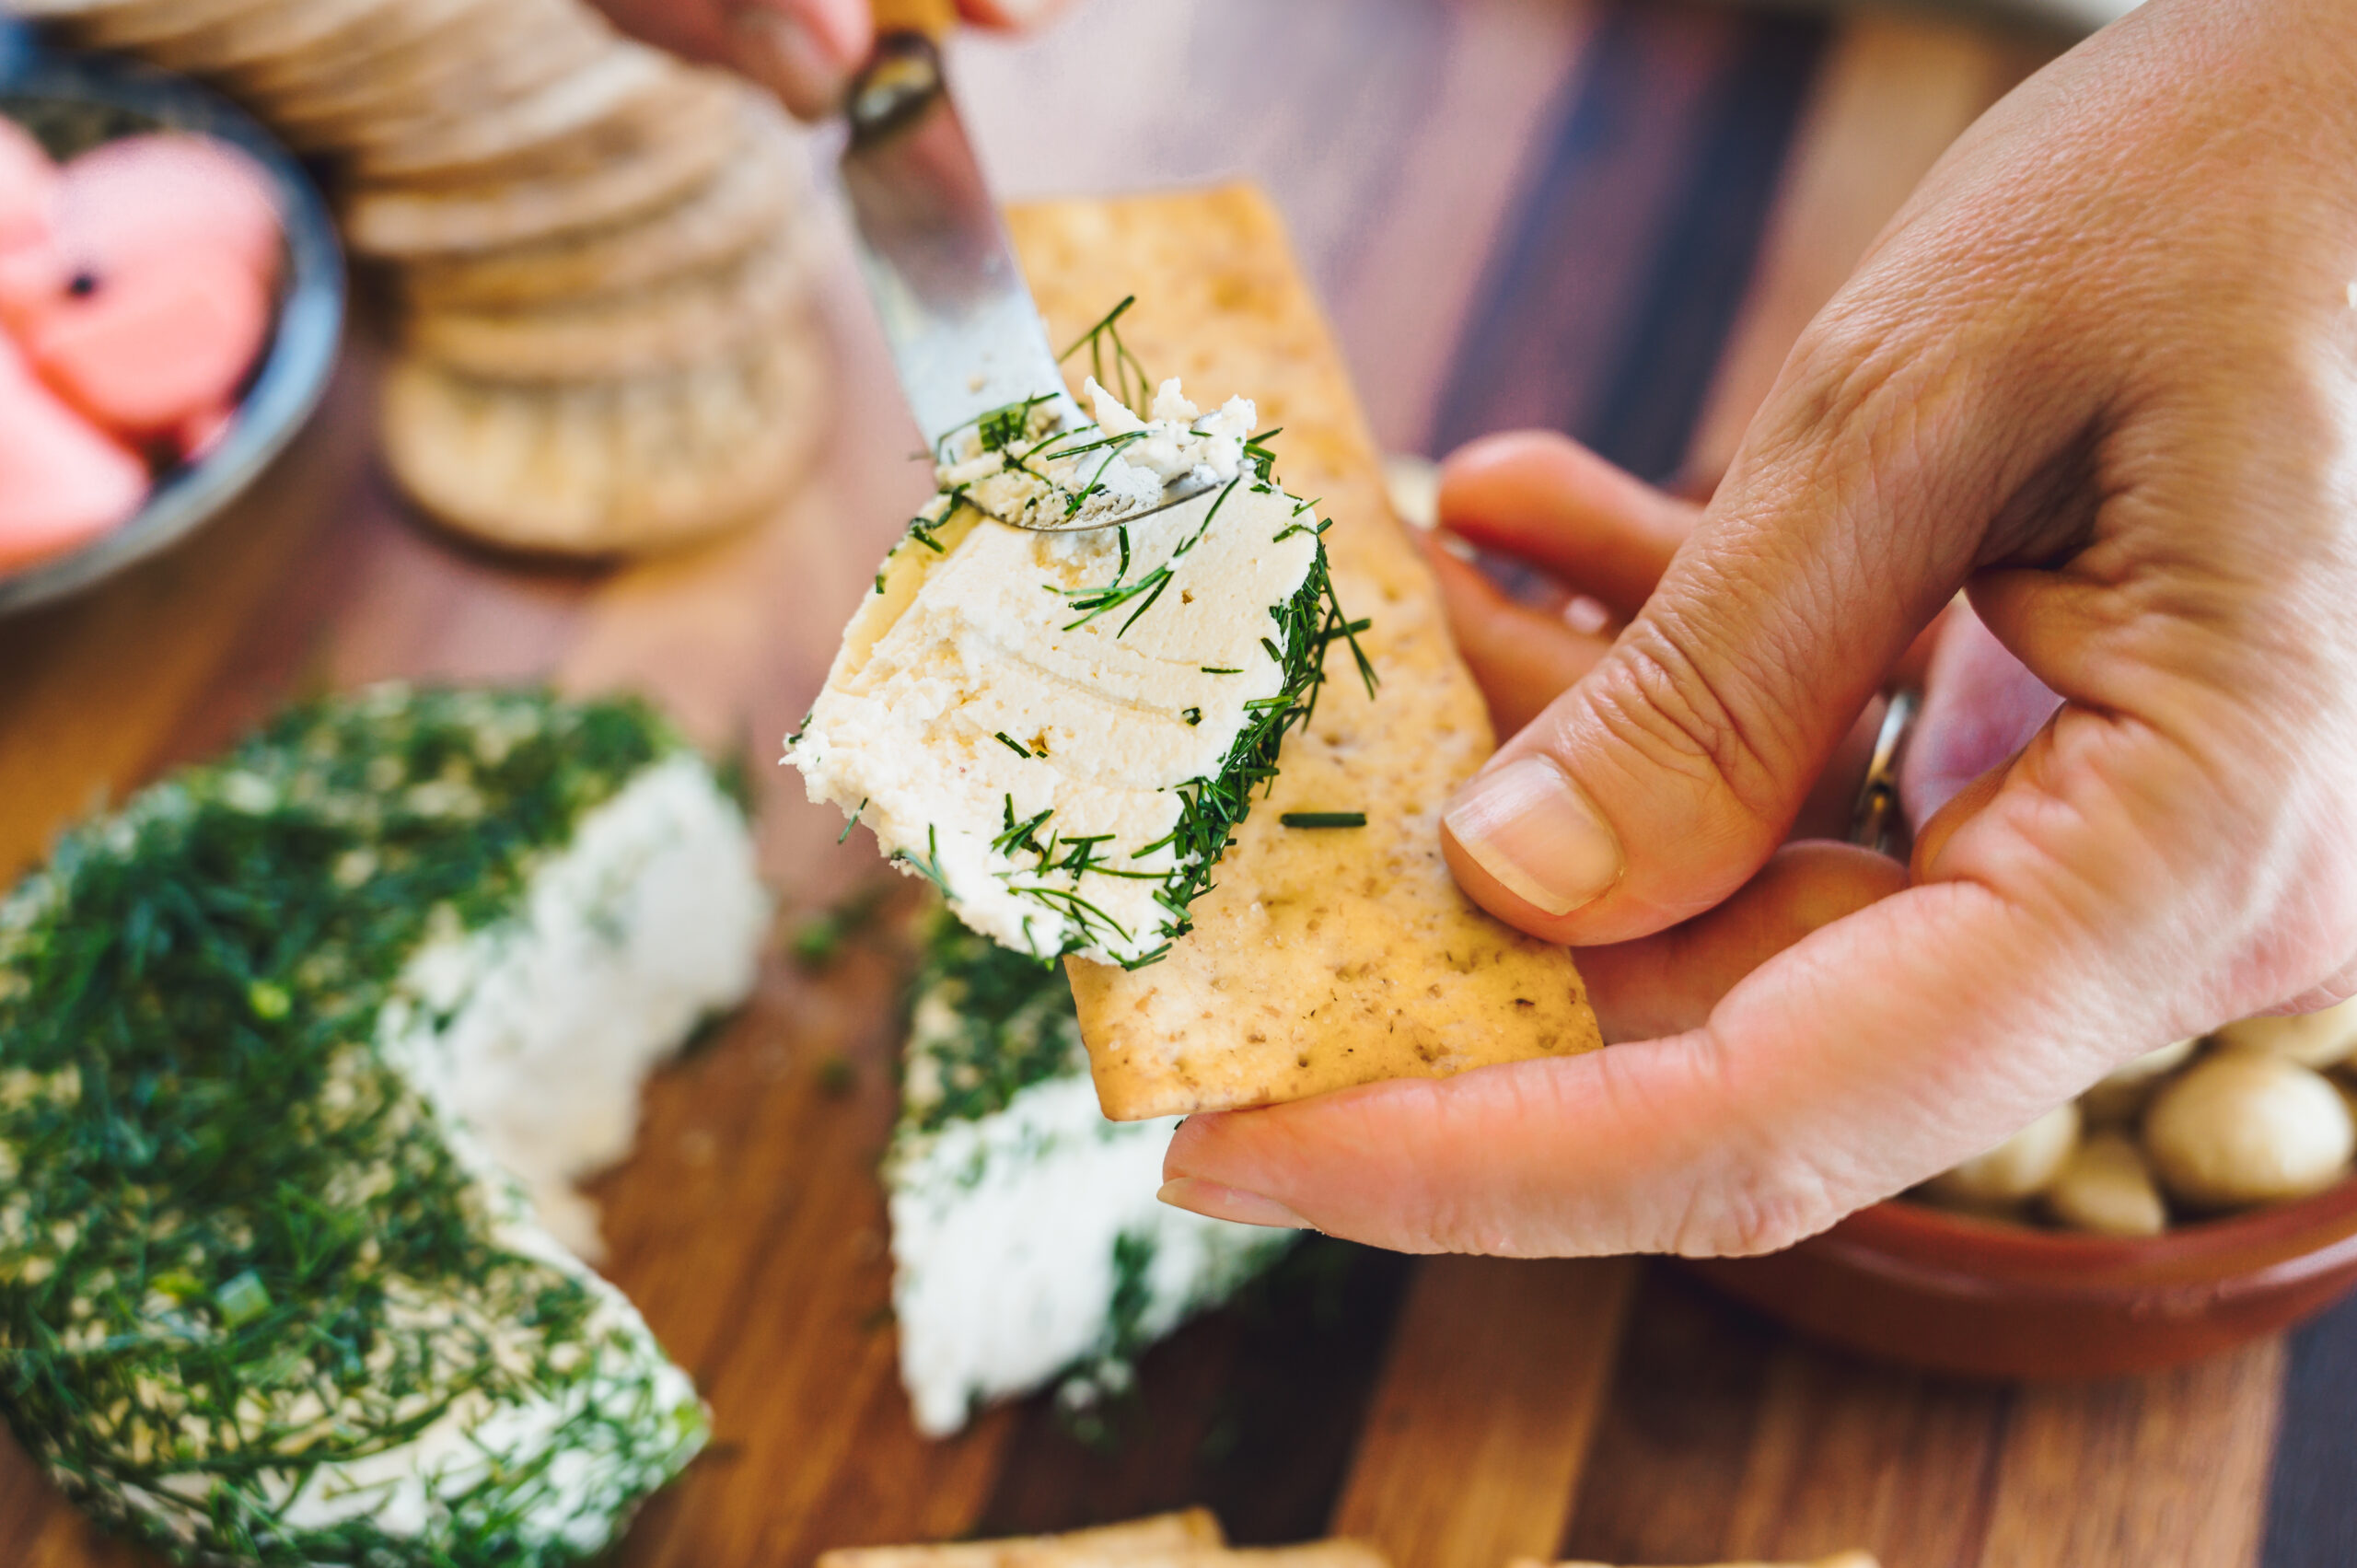
Making your own fermented macadamia cheese is simple and very rewarding. By fermenting blended macadamias with the contents of a couple of probiotic capsules, you’ll create a deliciously tangy and surprisingly cheese-like, dairy-free treat that also nourishes your gut microbiome. Enjoy your new ferment in the same ways you would use cream cheese, soft feta, or goat cheese – try it spread on crackers or toast, as part of a cheese board, crumbled on a salad, or pop some on a homemade pizza after you take it out of the oven – YUM!
No ratings yet
Servings 16 serves
Course Canapés, Snack
Preference Dairy Free
Perfect for Entertaining
Skill level Confident
Ingredients
- 2 cups raw macadamias (280g)
- Filtered water
- 1 tsp fine sea salt
- 2 tsp onion powder
- 1 tsp garlic powder
- 2 tsp light miso paste OR 1 tablespoon nutritional yeast
- ¾ tsp fine sea salt
- 3-4 tbsp lemon juice
- ½-1 cup filtered water
- 2 probiotic capsules*
For rolling
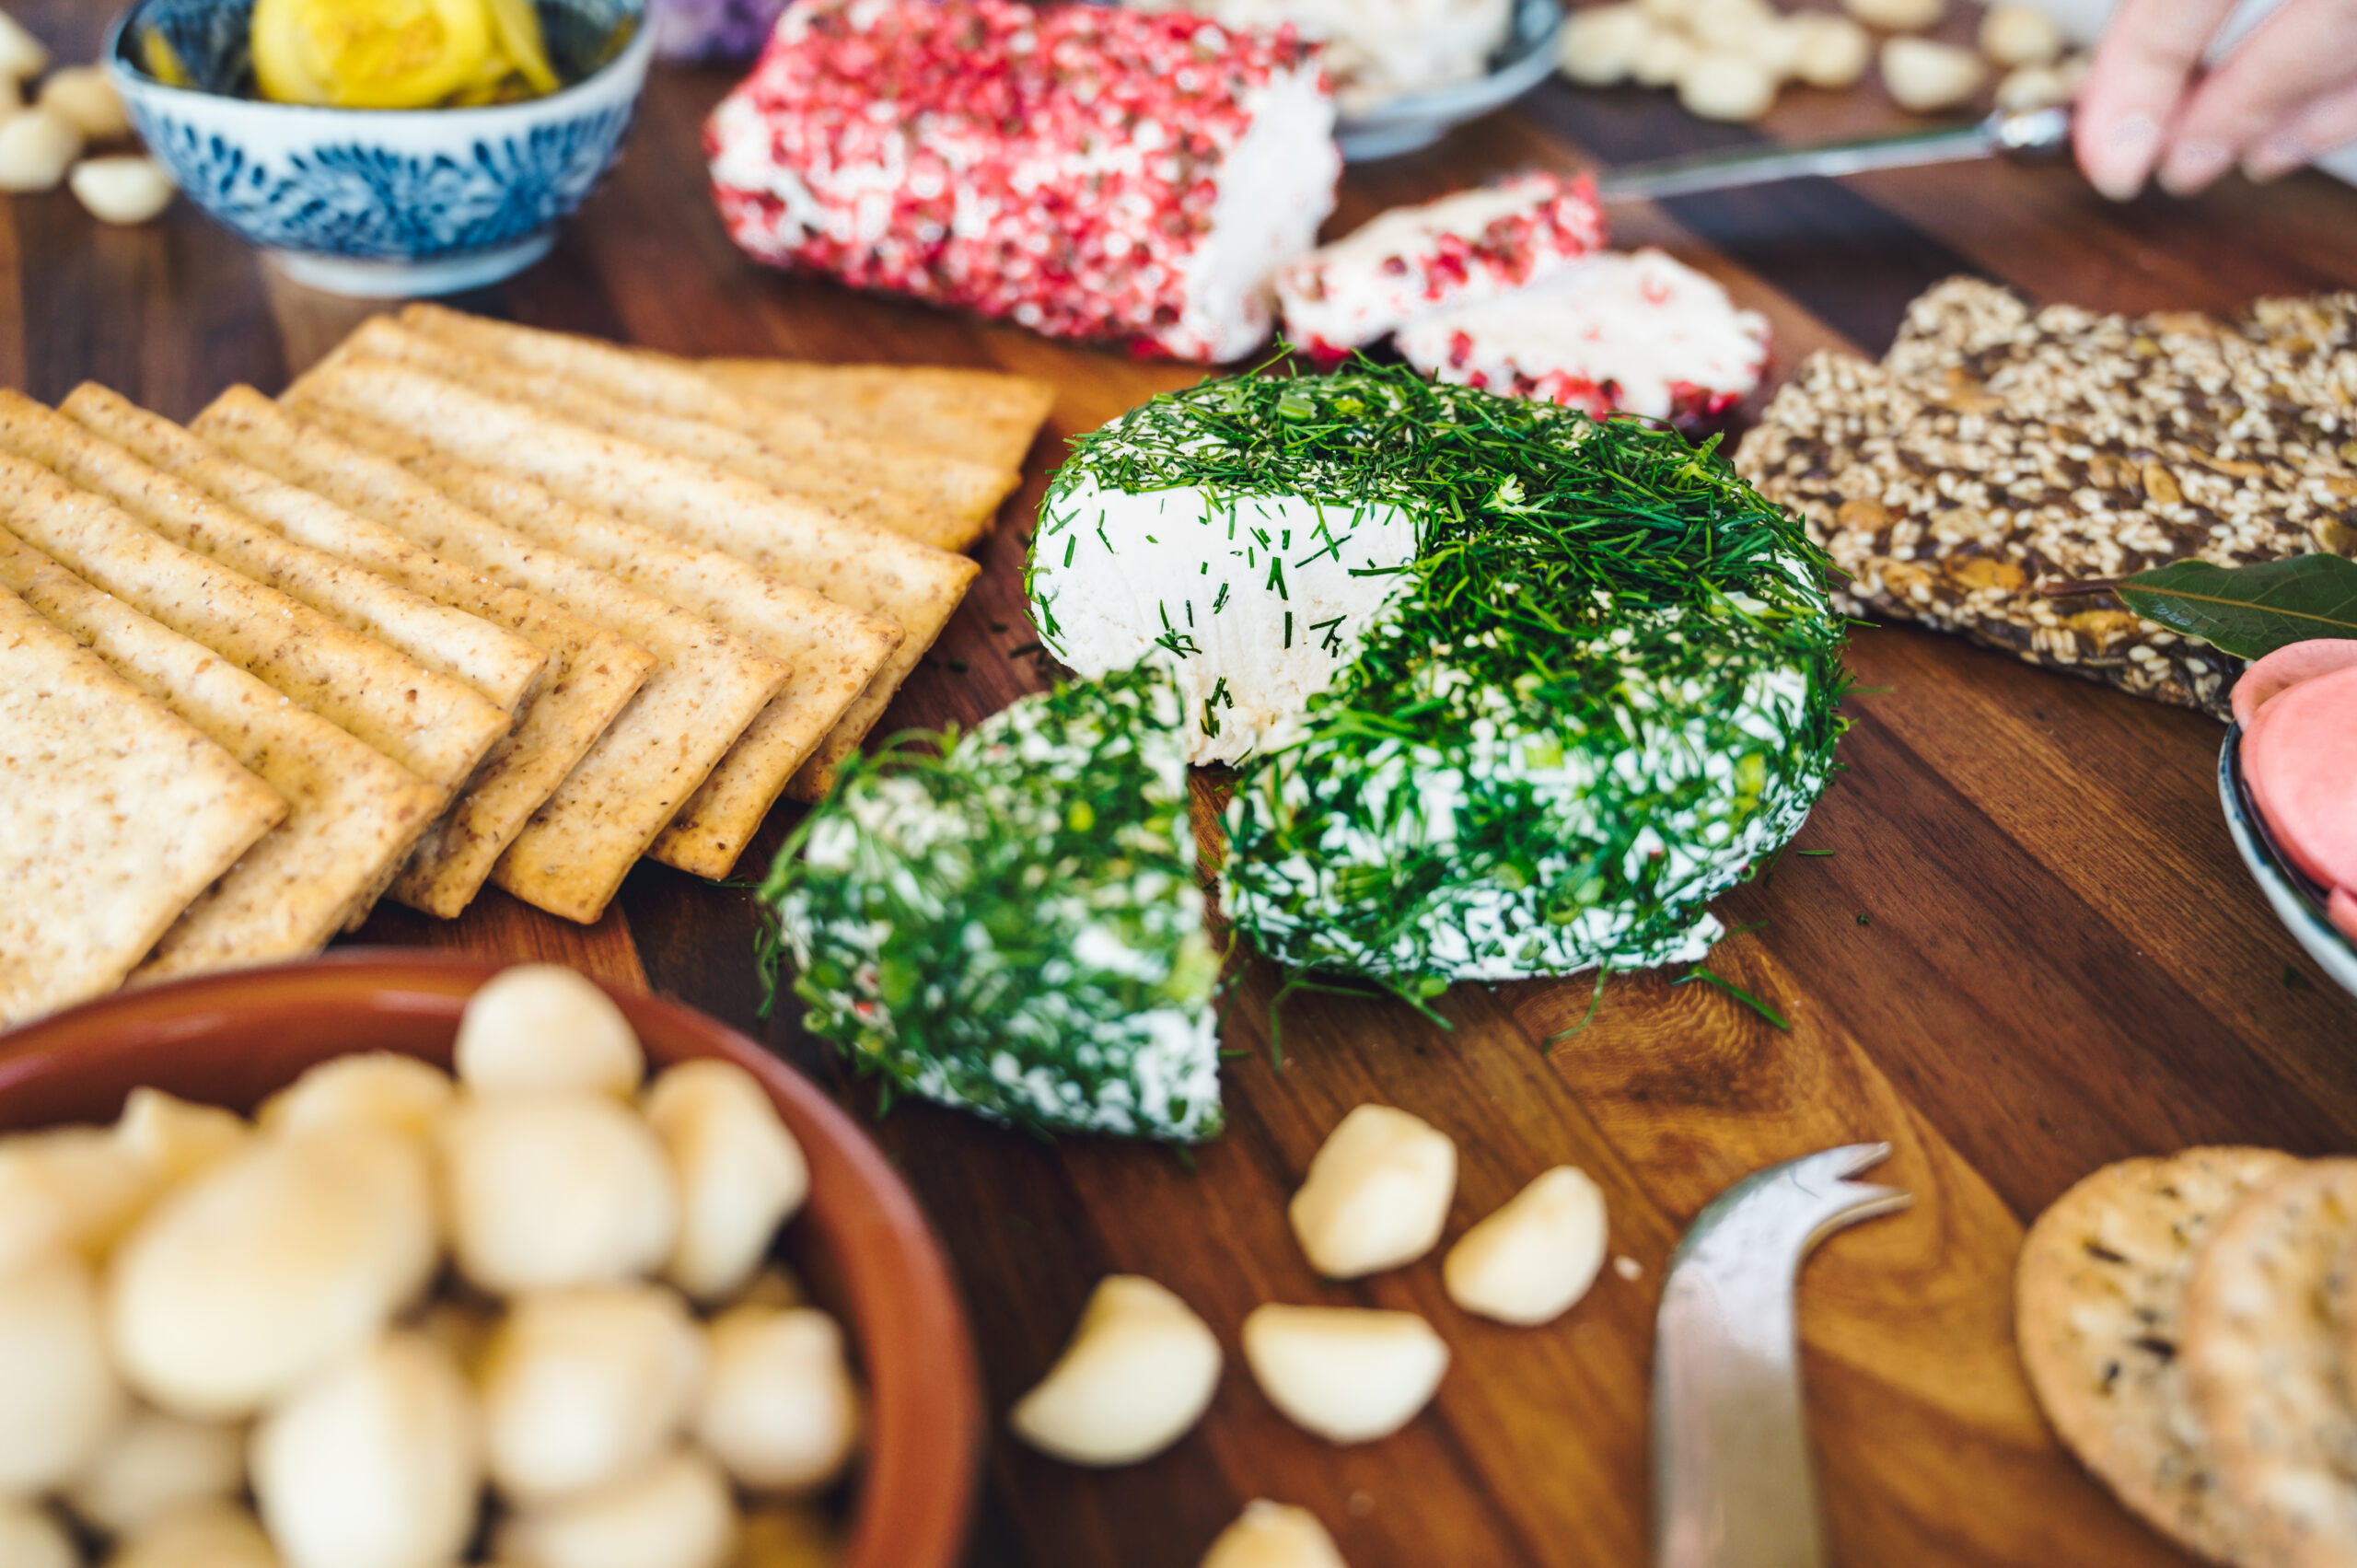
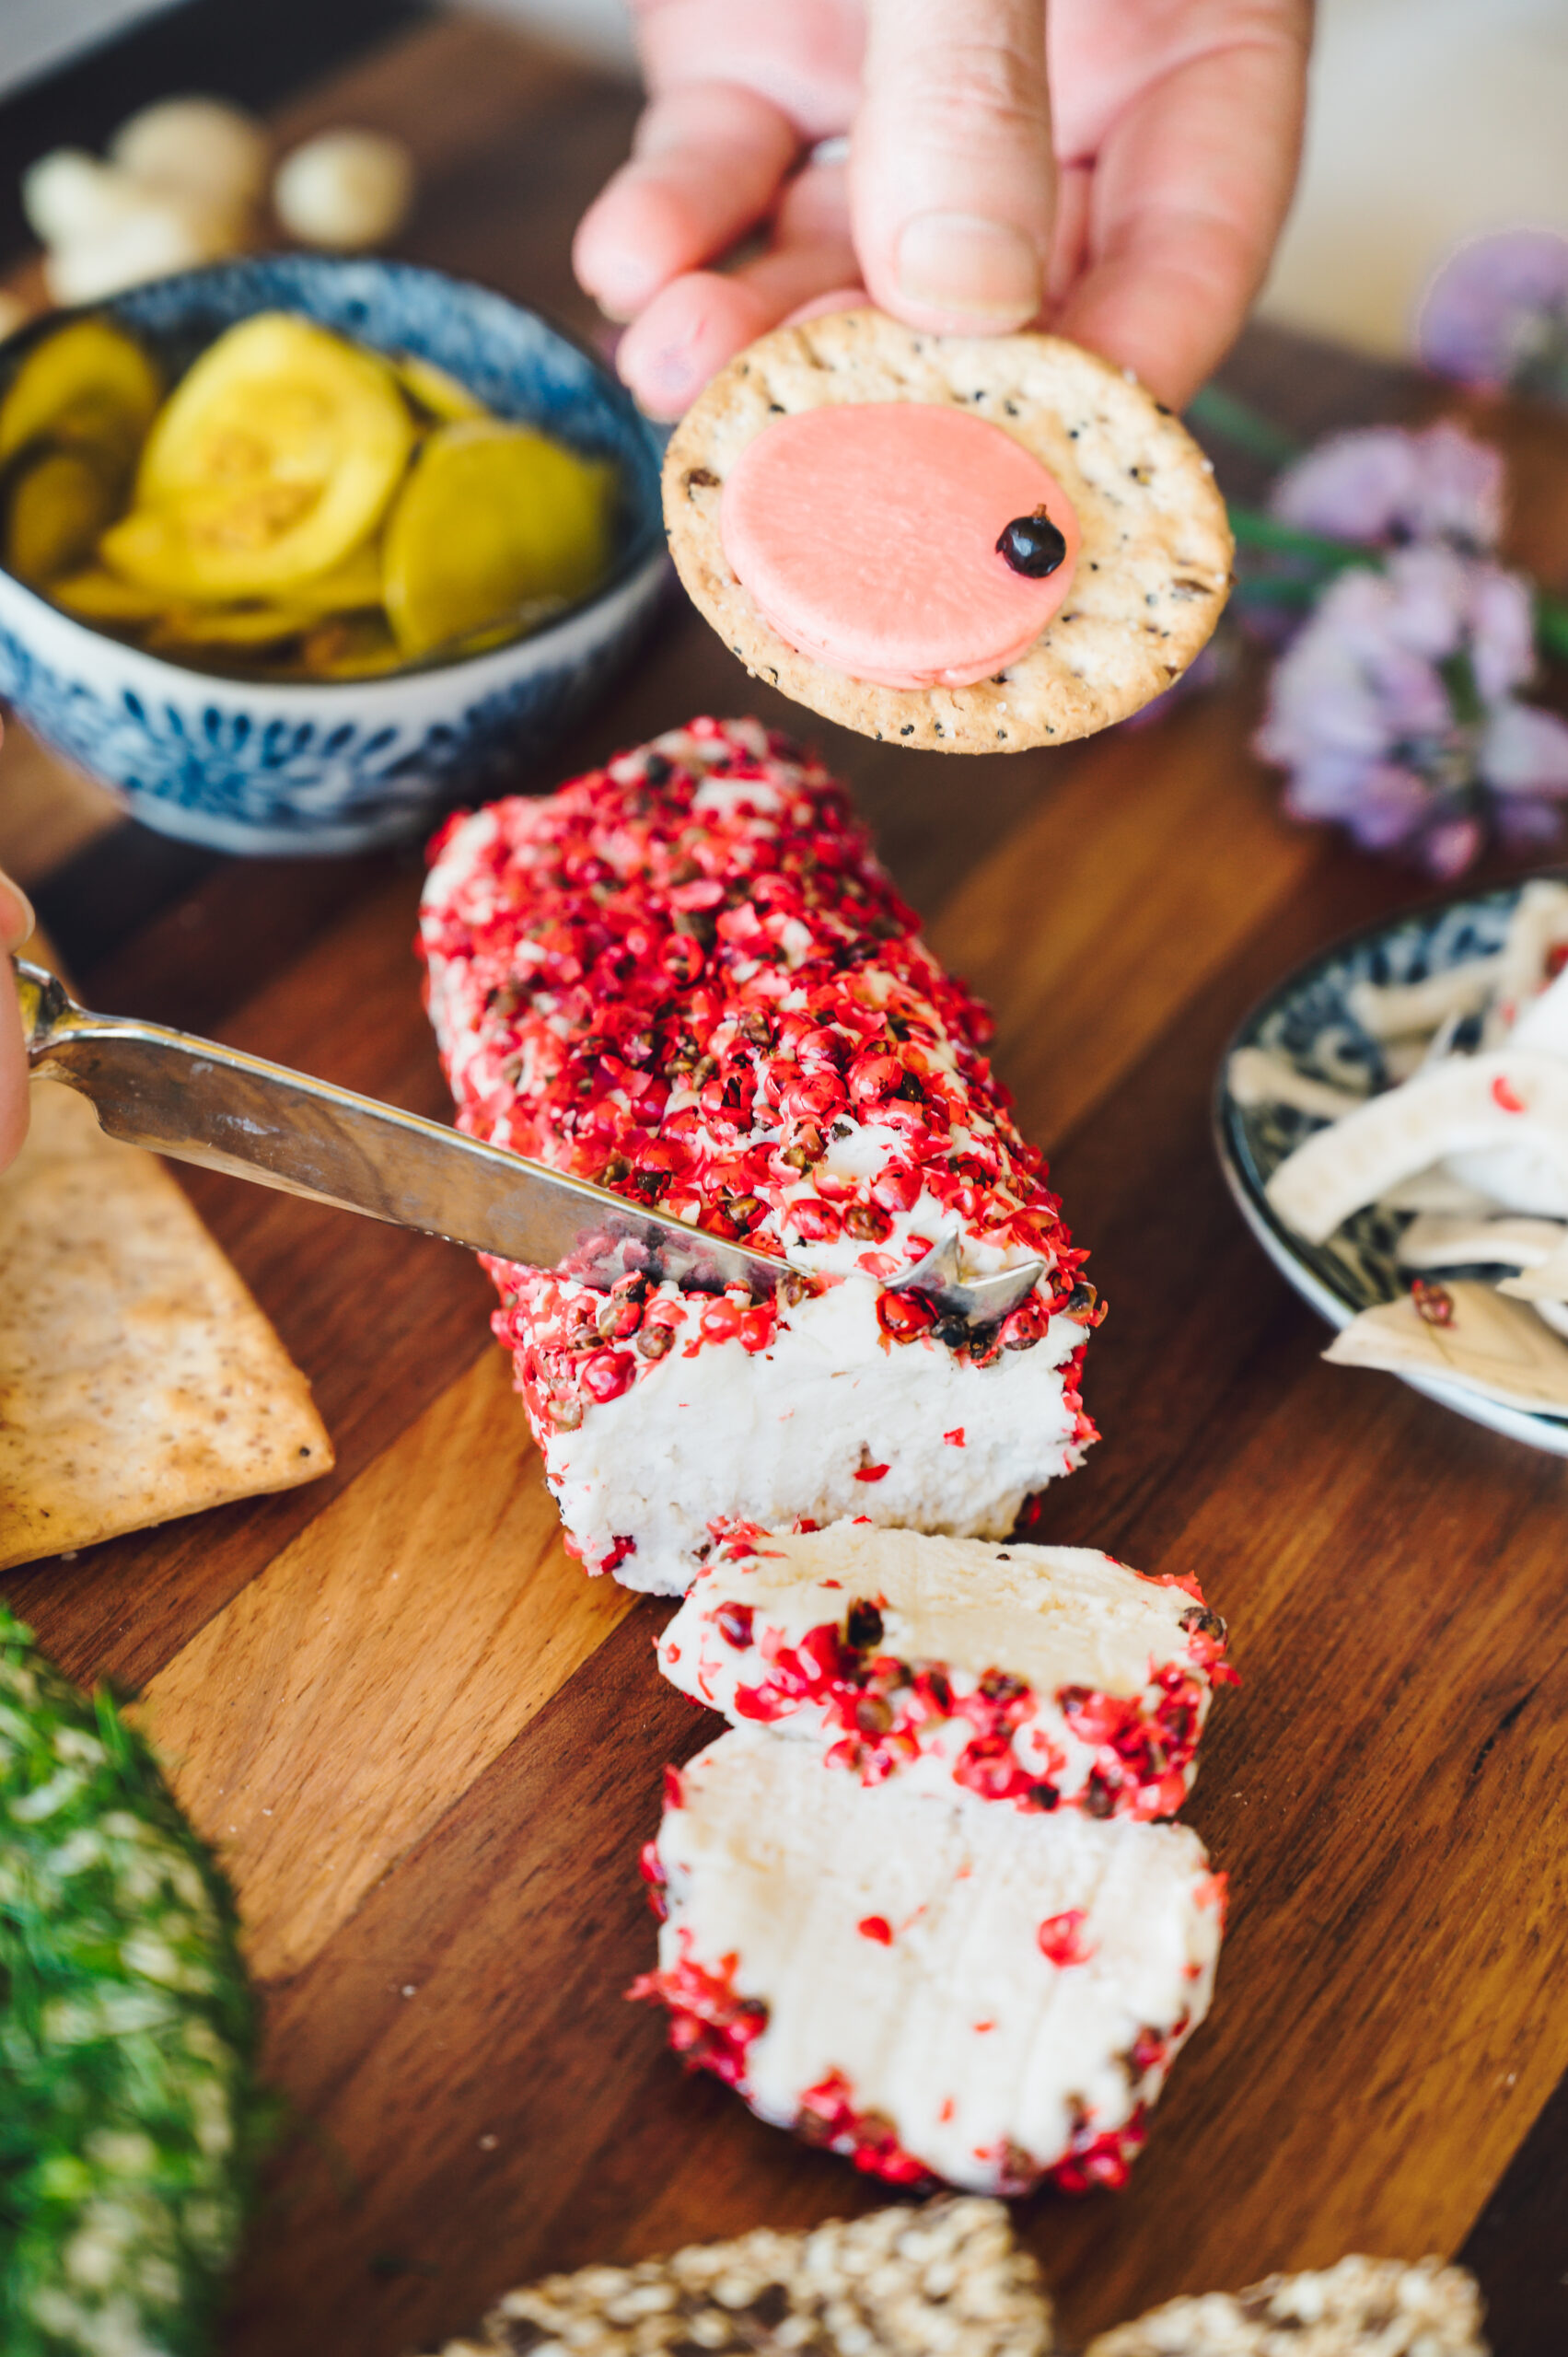
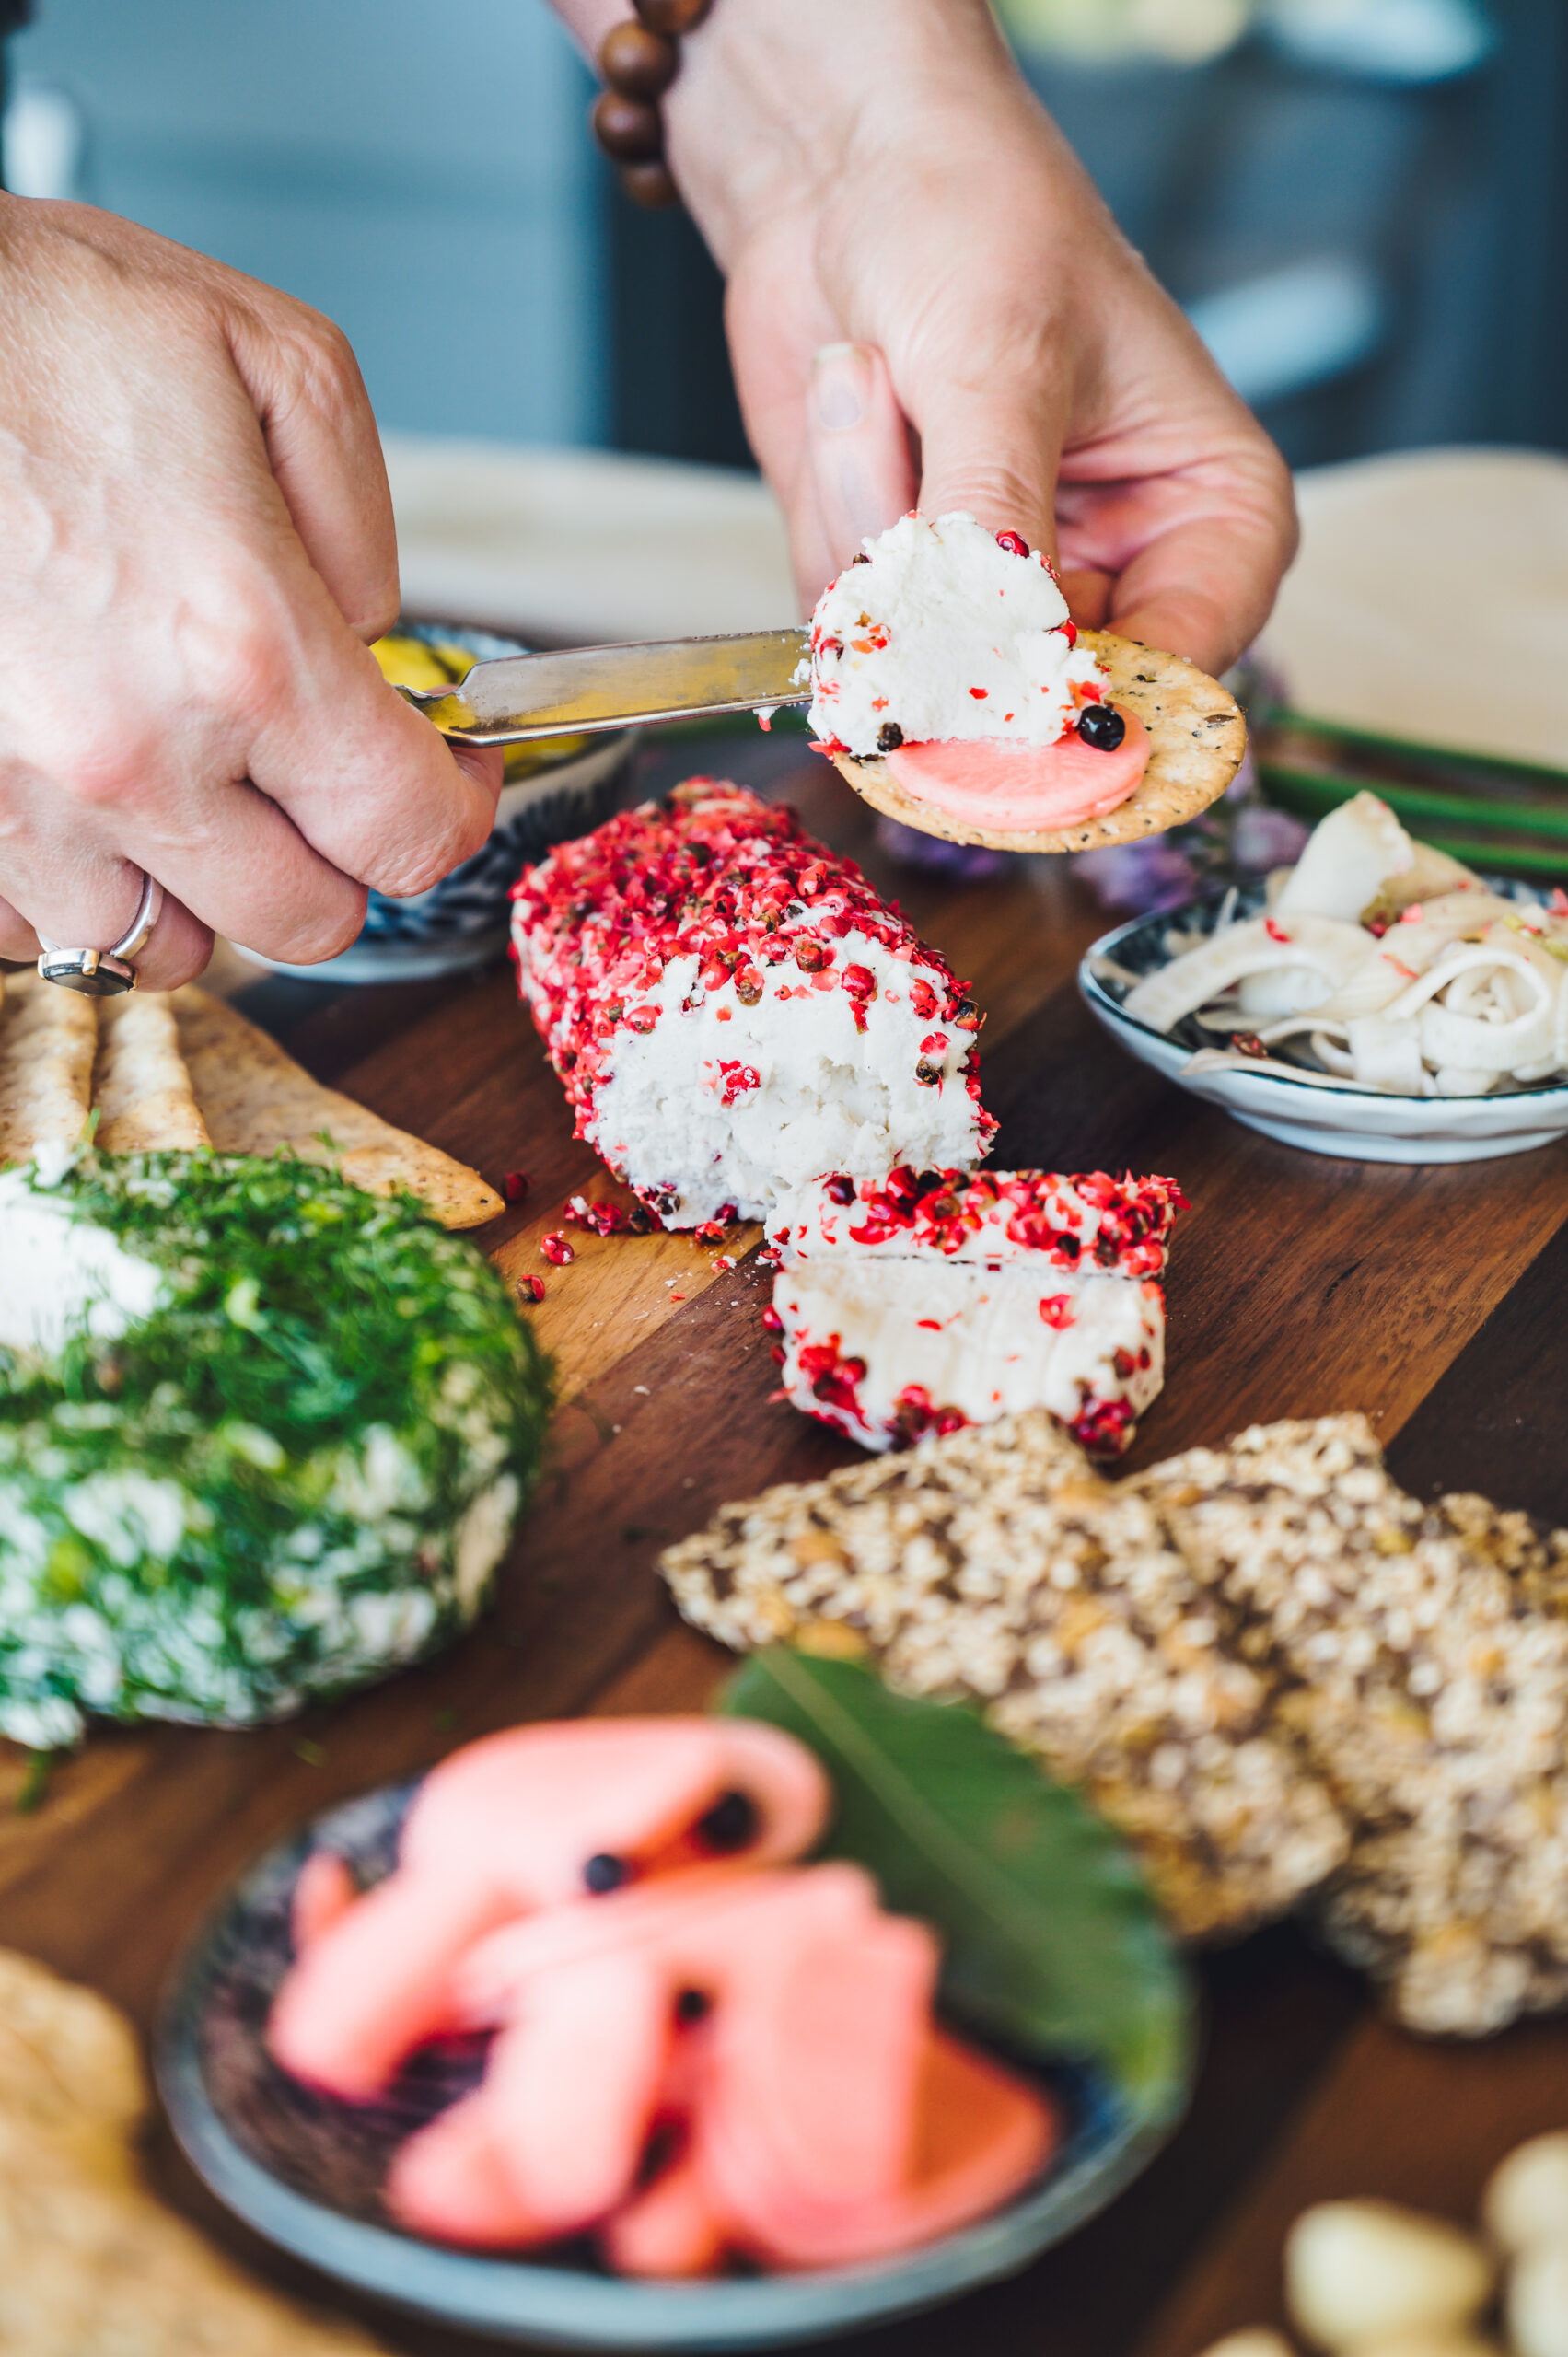
- Your choice of fresh herbs or dried spices – finely chopped dill and lightly crushed pink peppercorns are our favourites.
Instructions
- Start by soaking the macadamias. Place macadamias in a large bowl and cover with filtered water. Stir in the salt and leave to soak for 8 hours or overnight. Soaking helps to make the nuts even softer, ready for blending, and the saltwater helps to protect the nut cheese from mould.
- Blend the macadamias. Drain and rinse the macadamias. Place in a high-speed blender with the onion and garlic powders, miso paste or nutritional yeast, salt and 3 tablespoons of lemon juice. Blend on the highest speed, adding a little water at a time to create a smooth, creamy consistency. Stop the blender regularly to scrape down the sides and add only as much water as you need to keep the mixture moving easily in your blender (the less water you add now, the firmer your final cheese will be). You’ll probably need to blend for several minutes in total. Taste the mixture and decide if you’d like to add the final tablespoon of lemon juice for more zing.
- Add the probiotics. Use a spatula to transfer the mixture to a very clean bowl and leave to cool a little if the cheese is quite warm from blending. Once it’s at room temperature, open up the probiotic capsules and sprinkle in their contents (don’t add the capsule cases!). Stir well with the spatula to combine.
- Drain and ferment. Place a colander or mesh sieve over a medium mixing bowl, leaving a gap of a few centimetres for liquid to drain from the cheese. Line the colander or sieve with a piece of muslin or a very clean tea towel. Scoop the cheese into the cloth, and use a rubber band to secure the cloth in the centre, bringing the cheese into a ball.
- Place a weight on top of the cloth-wrapped cheese mixture to weigh it down – a couple of cans of beans or a jar filled with rice or lentils work well. This removes excess liquid, helping the cheese to firm up so you can easily shape it.
- Leave on your kitchen bench top for 24 hours and then unwrap and taste. You should notice a difference from the pre-fermented mixture – you’re looking for a tangy, slightly funky and ‘cheesier’ flavour. If you want a stronger fermented flavour, rewrap and weight the mixture, and leave it for another 12-24 hours (a maximum of 48 hours in total).
- Chill to make the cheese firmer. Unwrap the mixture and divide it in two. Pat each half into a disc shape (like a brie), or roll into a log (like goat cheese) – or make one of each shape. Place in an airtight container in the fridge for at least a few hours, where it will continue to firm up.
- Roll in coatings and serve. When you’re ready to serve, carefully remove the cheeses from their container and gently roll in your chosen herbs or spices.
- Keep any remaining cheese in an airtight container in the fridge for around 7-10 days. Cheese rolled in fresh herbs won’t last as long as cheese rolled in dry spices. Compost any remaining cheese once mould begins to form on the surface.
Notes
*You can use any brand or type of probiotic capsules, just check that it doesn’t contain any prebiotics. If you want to keep the cheese completely vegan, choose a vegan probiotic.
Tips
- Make sure your blender, bowl, utensils and storage container are very clean to help prevent mould from growing.
- If you’d like to start with a smaller amount of fermented macadamia cheese, you can easily halve this recipe and make one round or log of cheese instead of two.
- You can make the cheese in a food processor, but a high-speed blender gives a much smoother, creamier result.
- We used miso paste in our macadamia cheese, which adds another fermented probiotic-rich food to the cheese. You can use nutritional yeast to add a similar ‘cheesy’ flavour, but it won’t have the extra probiotics.
- You can add fresh herbs or other flavourings (smoked paprika or ground chipotle chilli are great choices) into the cheese mixture itself if you like – have fun experimenting!